Step-by-step guide to add a coupon to your store in Adobe Commerce
If you own an online store, you already know how important it is to attract and keep loyal customers. Coupons are a powerful tool for achieving both...
By Role
By Industry
By Target Customer
What We Offer
We drive business growth by improving operational efficiency through process optimization, smart automation, and cost control. Our approach boosts productivity, reduces expenses, and increases profitability with scalable, sustainable solutions
Customer Experience
We design memorable, customer-centered experiences that drive loyalty, enhance support, and optimize every stage of the journey. From maturity frameworks and experience maps to loyalty programs, service design, and feedback analysis, we help brands deeply connect with users and grow sustainably.
Marketing & Sales
We drive marketing and sales strategies that combine technology, creativity, and analytics to accelerate growth. From value proposition design and AI-driven automation to inbound, ABM, and sales enablement strategies, we help businesses attract, convert, and retain customers effectively and profitably.
Pricing & Revenue
We optimize pricing and revenue through data-driven strategies and integrated planning. From profitability modeling and margin analysis to demand management and sales forecasting, we help maximize financial performance and business competitiveness.
Digital Transformation
We accelerate digital transformation by aligning strategy, processes and technology. From operating model definition and intelligent automation to CRM implementation, artificial intelligence and digital channels, we help organizations adapt, scale and lead in changing and competitive environments.
Operational Efficiency
We enhance operational efficiency through process optimization, intelligent automation, and cost control. From cost reduction strategies and process redesign to RPA and value analysis, we help businesses boost productivity, agility, and sustainable profitability.
Customer Experience
Marketing & Sales
Pricing & Revenue
Digital Transformation
Operational Efficiency
Every Magento instance consits of at least two seperate sites: the frontend, which allows customers to navigate, create accounts and purchase goods, and the admin site: which provides a secure platform for the commerce's administrators to perform tasks such as order management, catalog updates, content creation, marketing campaings, generating reports and configuring all the settings for the store, amongst other ations.
There is usually a large effort placed to develop and customize the frontend, which is clearly important, since it's where all of the customers will navigate, however, far too often the admin site gets overlooked, sometimes without even knowing that it's entirely possible to customize and modify the Magento admin site down to the last pixel.
Magento is characterized by its flexibility and adaptability, not only in the front-end design, but also in the administrative interface. Customizing the magento administration panel is a key practice for development and management teams looking to optimize workflows, improve usability and adapt the platform to specific business needs. Adjusting the administrative environment can reduce operational times and facilitate daily navigation.
The Magento admin is built in a modular and scalable way, allowing you to modify everything from dashboard widgets to user roles, menu structures and even visual styles. These tweaks help improve task assignment, establish clearer access controls and provide a more user-friendly interface for non-technical users.
This article is the first part of a series on how to customize the Magento admin, and focuses on the basic steps to make significant changes to the backend. Knowing these customization techniques allows you to build a much more efficient management experience tailored to each organization.
Some benefits of customizing the admin site are:
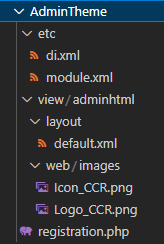
To modify your admin site, you'll have to create a theme and a module, and while this will require some basic coding, you can just use the code provided, but be sure to replace the vendor's name to yours.
Here is how it's done:
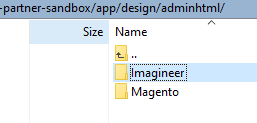
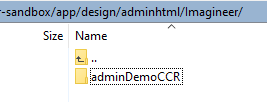
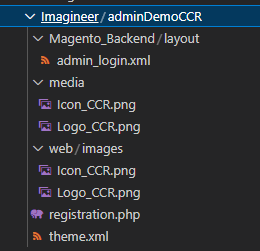
<theme xmlns:xsi="http://www.w3.org/2001/XMLSchema-instance" xsi:noNamespaceSchemaLocation="urn:magento:framework:Config/etc/theme.xsd"> <title>Admin Demo CCR</title>
<!-- ^ your theme's name --> <parent>Magento/backend</parent>
<!-- ^ the parent theme, in case your theme inherits from an existing theme --> <media> <preview_image>media/Icon_CCR.png</preview_image>
<!-- ^ the path to your theme's preview image --> </media></theme>
<?phpuse \Magento\Framework\Component\ComponentRegistrar;ComponentRegistrar::register(ComponentRegistrar::THEME, 'adminhtml/Imagineer/adminDemoCCR', __DIR__);
<preview_image> defined in step 3):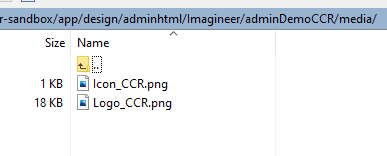


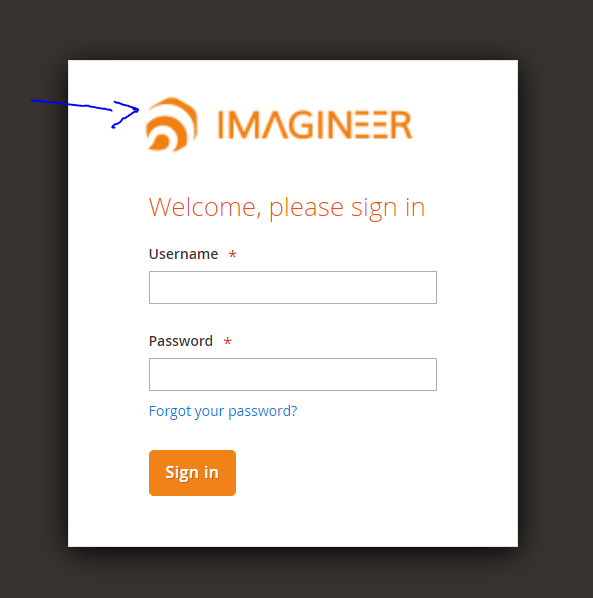
<page xmlns:xsi="http://www.w3.org/2001/XMLSchema-instance" layout="admin-login" xsi:noNamespaceSchemaLocation="urn:magento:framework:View/Layout/etc/page_configuration.xsd"> <body> <referenceBlock name="logo"> <arguments> <argument name="logo_image_src" xsi:type="string">images/Logo_CCR.png</argument> <argument name="logo_width" xsi:type="number">150</argument>
<!-- ^ Add custom logo width --> <argument name="logo_height" xsi:type="number">80</argument>
<!-- ^ Add custom logo height --> </arguments> </referenceBlock> </body> </page>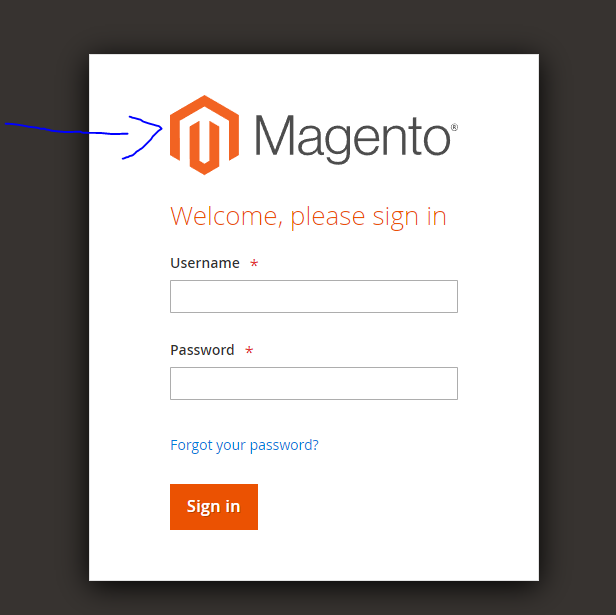

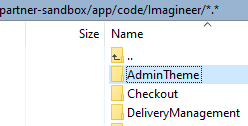
Imagineer with your company)<?php\Magento\Framework\Component\ComponentRegistrar::register(\Magento\Framework\Component\ComponentRegistrar::MODULE, 'Imagineer_AdminTheme', __DIR__);?>
Imagineer with your company):<?xml version="1.0"?><config xmlns:xsi="http://www.w3.org/2001/XMLSchema-instance" xsi:noNamespaceSchemaLocation="urn:magento:framework:Module/etc/module.xsd"> <module name="Imagineer_AdminTheme" setup_version="1.0"> <sequence> <module name="Magento_Theme"/> <module name="Magento_Enterprise"/> </sequence> </module></config>
Imagineer/adminDemoCCR with your company and theme names defined in steps 1 and 2):<config xmlns:xsi="http://www.w3.org/2001/XMLSchema-instance" xsi:noNamespaceSchemaLocation="urn:magento:framework:ObjectManager/etc/config.xsd"> <!-- Admin theme. Start --> <type name="Magento\Theme\Model\View\Design"> <arguments> <argument name="themes" xsi:type="array"> <item name="adminhtml" xsi:type="string">Imagineer/adminDemoCCR</item>
<!-- Example: "Magento/backend" --> </argument> </arguments> </type> <!-- Admin theme. End --></config>
<?xml version="1.0"?><page xmlns:xsi="http://www.w3.org/2001/XMLSchema-instance" layout="admin-1column" xsi:noNamespaceSchemaLocation="urn:magento:framework:View/Layout/etc/page_configuration.xsd"> <body> <referenceContainer name="header"> <block class="Magento\Backend\Block\Page\Header" name="logo" before="-"> <arguments> <argument name="show_part" xsi:type="string">logo</argument> <argument name="logo_image_src" xsi:type="string">images/Icon_CCR.png</argument> </arguments> </block> </referenceContainer> </body></page>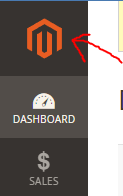


If you own an online store, you already know how important it is to attract and keep loyal customers. Coupons are a powerful tool for achieving both...

Price rules are tools that come incorporated in Adobe Commerce, which will allow store administrators to offer special prices to all their customers.

Many times it can be inconvenient and time-consuming to manually add a large number of products to a Magento installation.